
Healthcare organizations using NikoHealth often need patient, insurance, order, invoice, and prescription data available inside Salesforce. As data grows, manually updating records across systems becomes difficult and can lead to delays, duplicate work, and data inconsistencies.
NikoHealth to Salesforce integration helps solve this challenge by automatically synchronizing data between both platforms. Instead of building custom APIs, webhooks, batch jobs, and field mappings from scratch, MultiSync Made Easy provides a centralized framework for:
- NikoHealth Authorization
- Object Mapping
- Field Mapping
- Real-Time Synchronization
- Batch Synchronization
- Error Monitoring
- Sync Logs and Reporting
With a reliable Salesforce integration, healthcare teams can access the information they need without switching between systems. In this guide, we’ll show how to connect NikoHealth and Salesforce and simplify Healthcare CRM Integration using a no-code setup.
Step 1: Install MultiSync Made Easy
- Begin by installing the MultiSync Made Easy package into your Salesforce org.
- After installation, navigate to:
App Launcher and open MultiSync Made Easy. The application provides a centralized dashboard for managing all integrations.
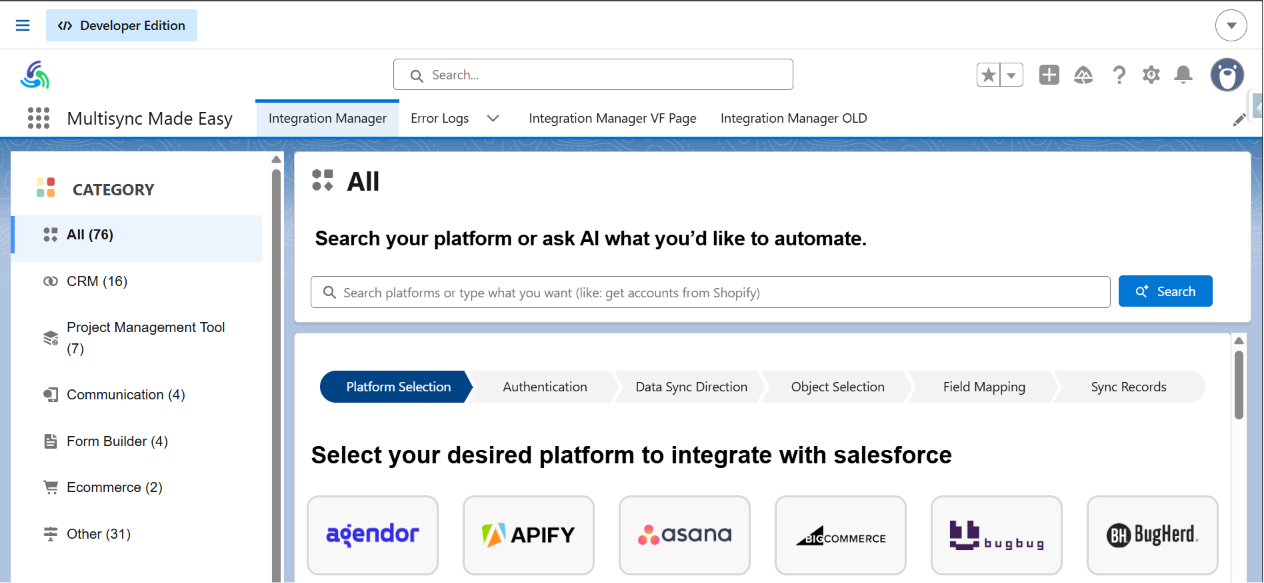
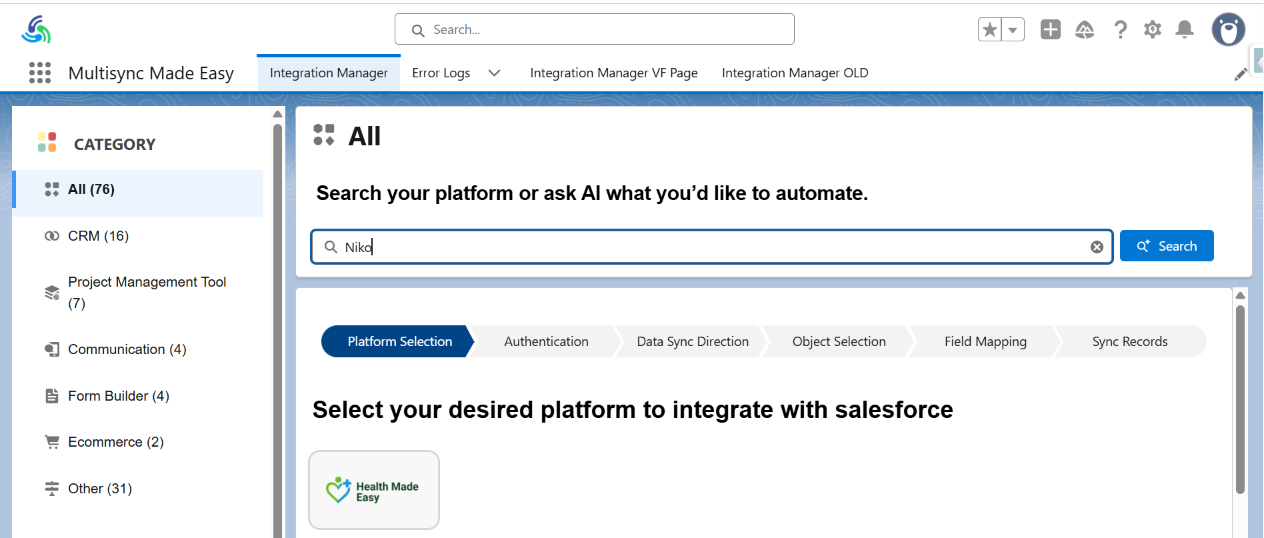
Step 2: Search and Select an Application
- From the Applications page, search for the healthcare platform you want to integrate.
- Select the desired application.
Step 3: Choose the Authorization Method
Once the application is selected, choose the authentication type supported by the platform.
- For NikoHealth, select:
- OAuth 2.0
- Other applications may support:
- OAuth 2.0
- API Key Authentication
- Basic Authentication
- Client Credentials Flow
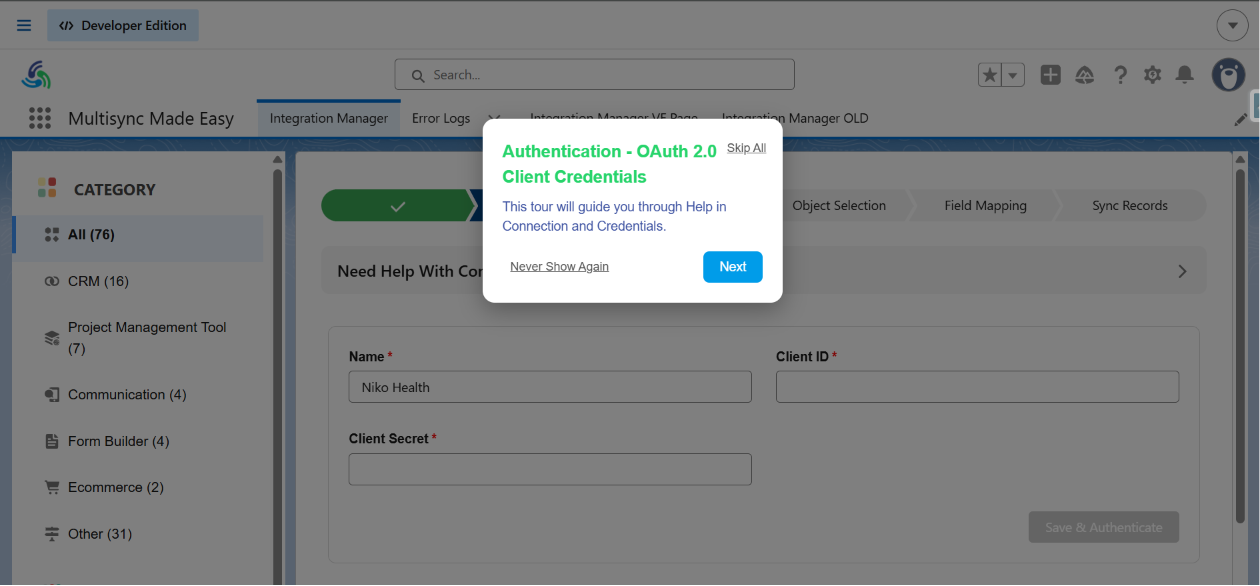
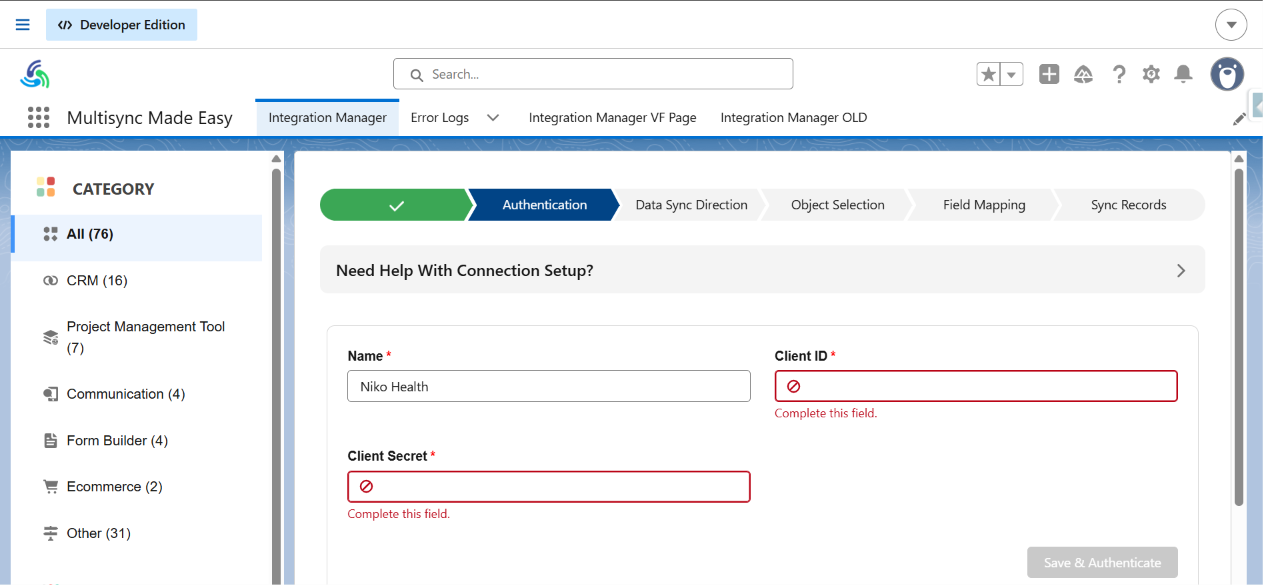
Step 4: Enter API Credentials
- Provide the credentials obtained from the external application.
Example:
Client ID
Client Secret
Token URL
API Base URL
- For NikoHealth:
Client ID: ********
Client Secret: ********
Token URL:
https://your-domain.nikohealth.com/connect/token
- Click on Save & Authenticate. MultiSync Made Easy automatically validates the credentials and establishes the connection.
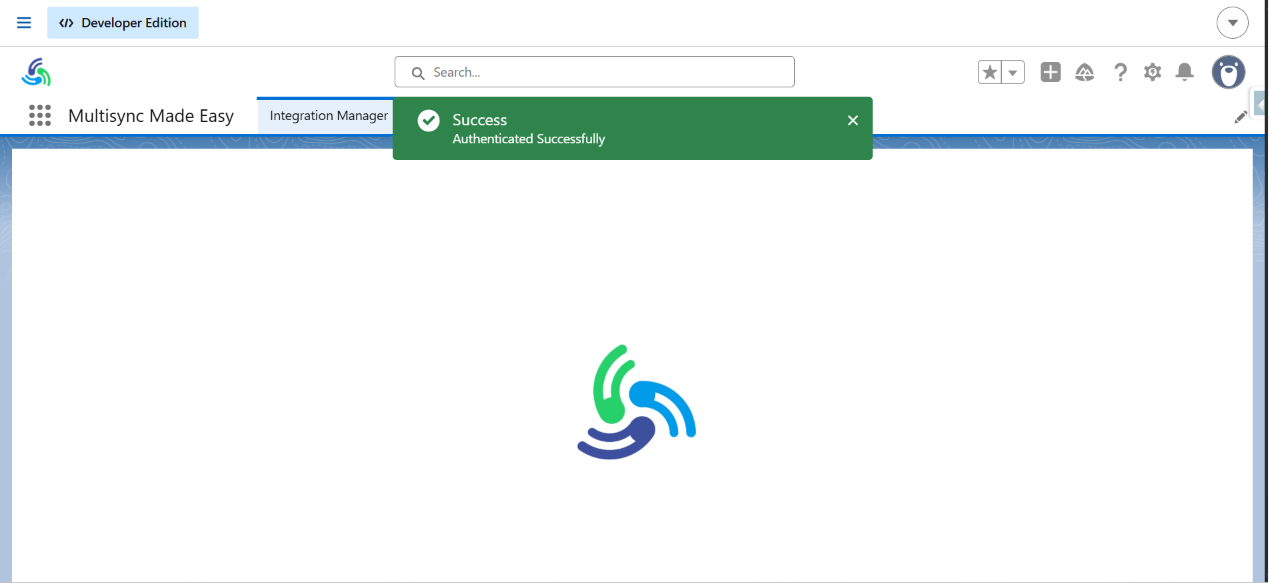
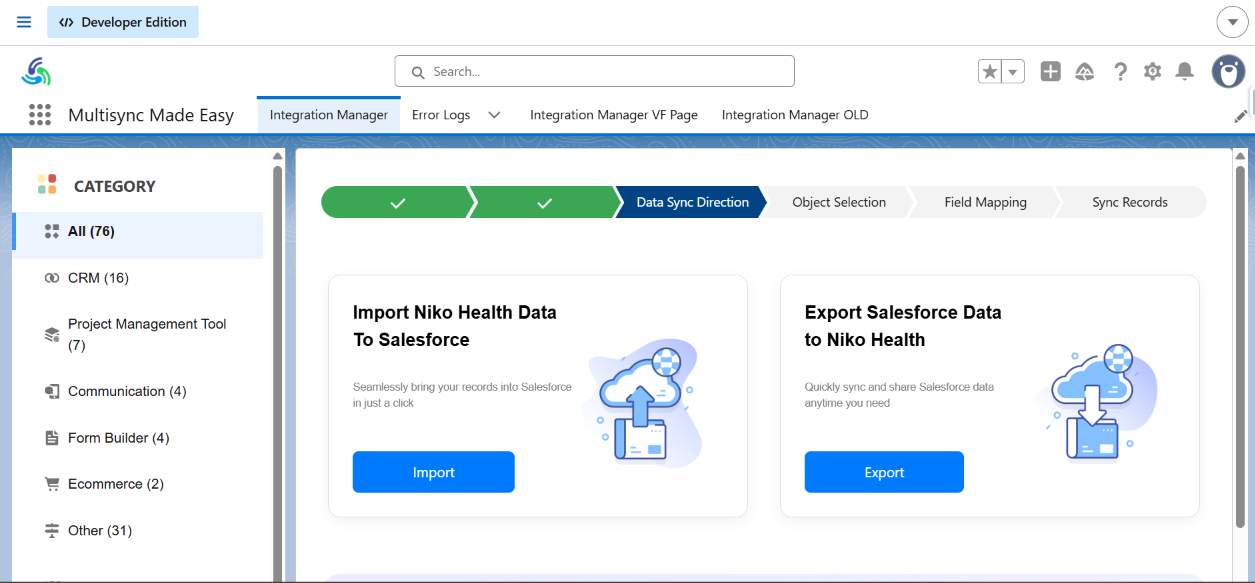
Step 5: Verify Authorization / Choose Import or Export Data
After successful authentication, the application status will display Authenticated Successfully. This confirms that the connection has been established and Salesforce can now securely communicate with the selected healthcare platform for data synchronization.
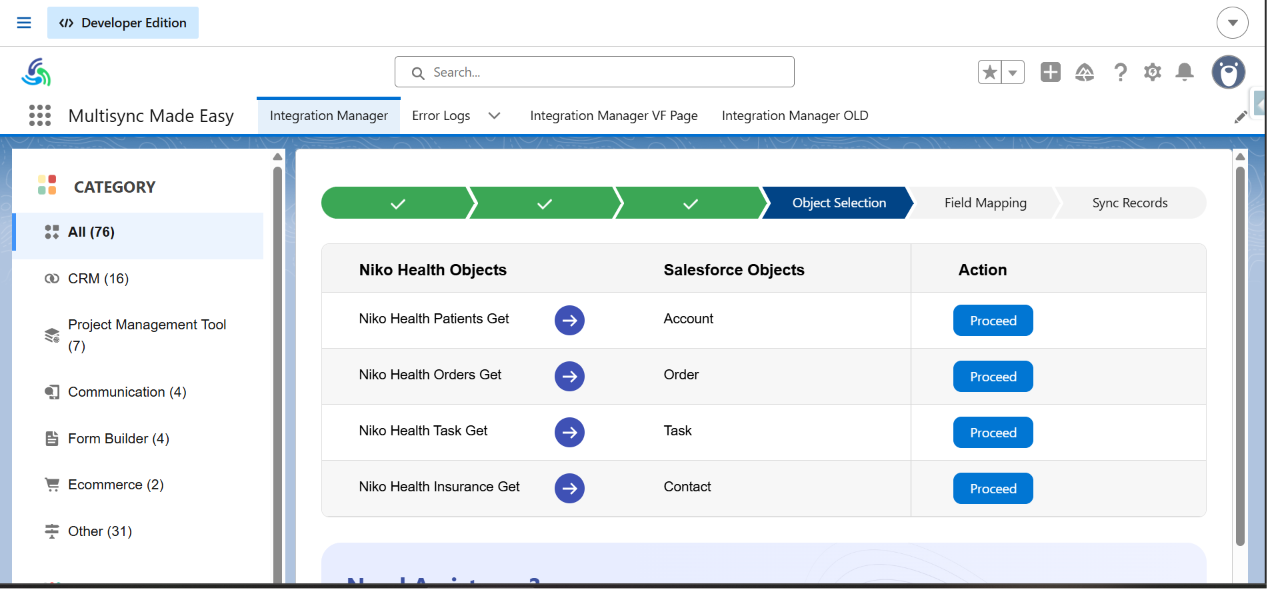
Step 6: Configure Object Mapping
- Next, choose which objects should be synchronized.
- Common examples include:
| NikoHealth Object | Salesforce Object |
|---|---|
| Niko Health Patients Get | Account |
| Niko Health Orders Get | Order |
| Niko Health Task Get | Task |
| Niko Health Insurance Get | Contact |
- MultiSync Made Easy allows administrators to configure mappings without writing code.
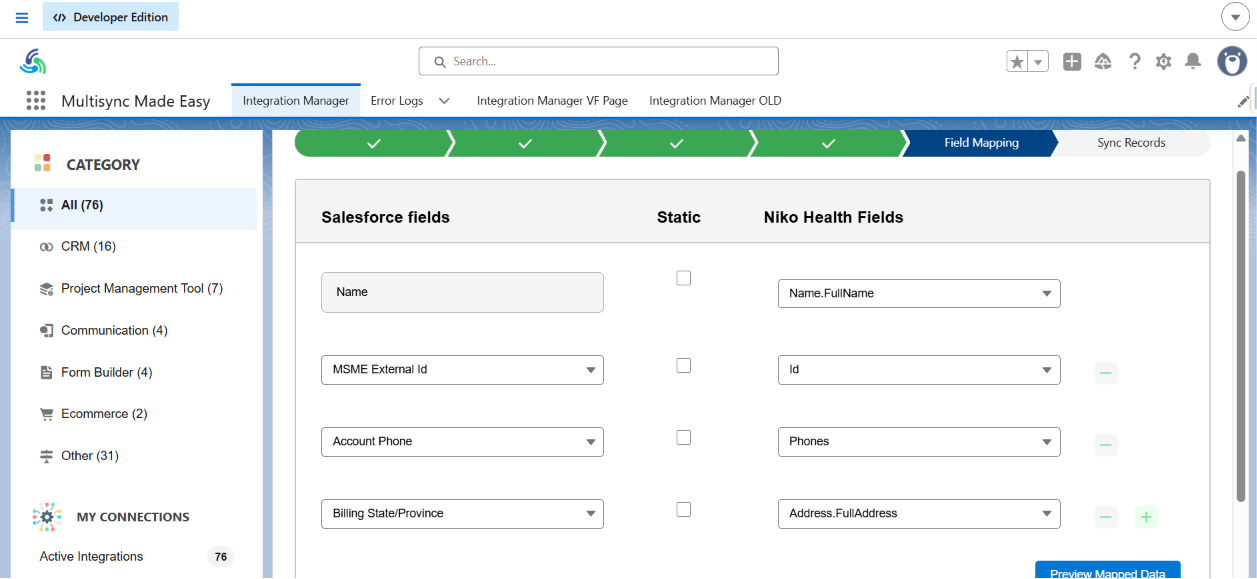
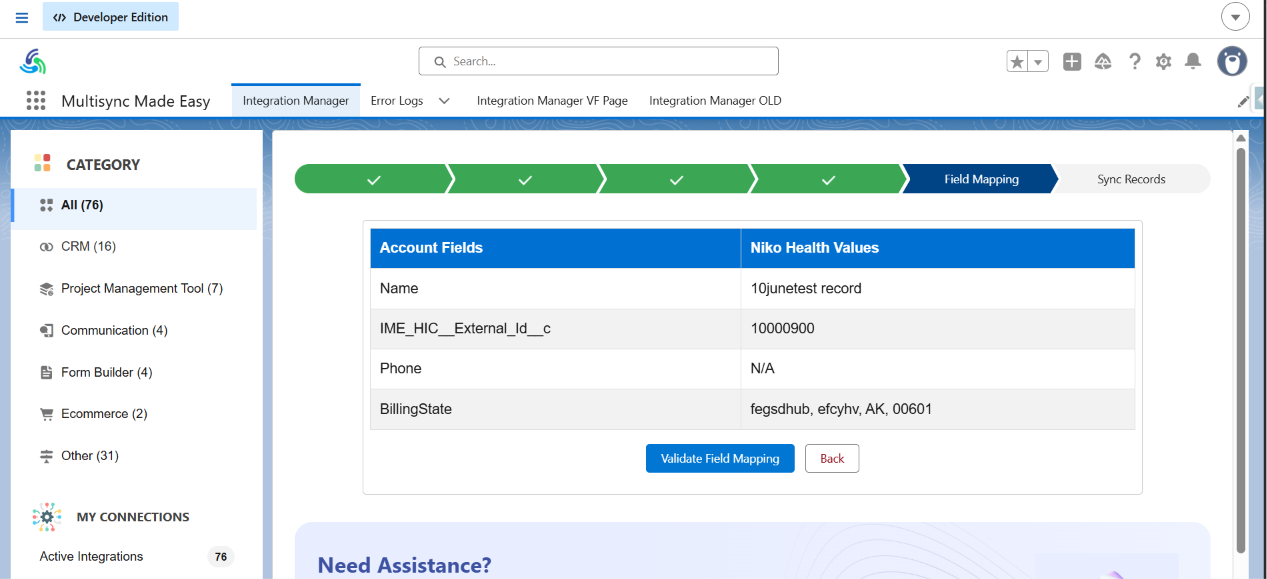
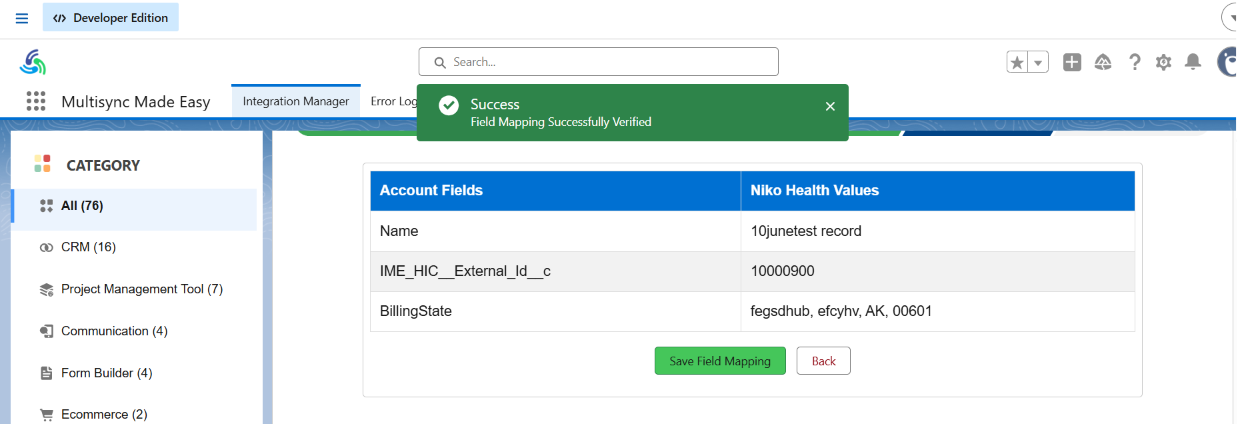
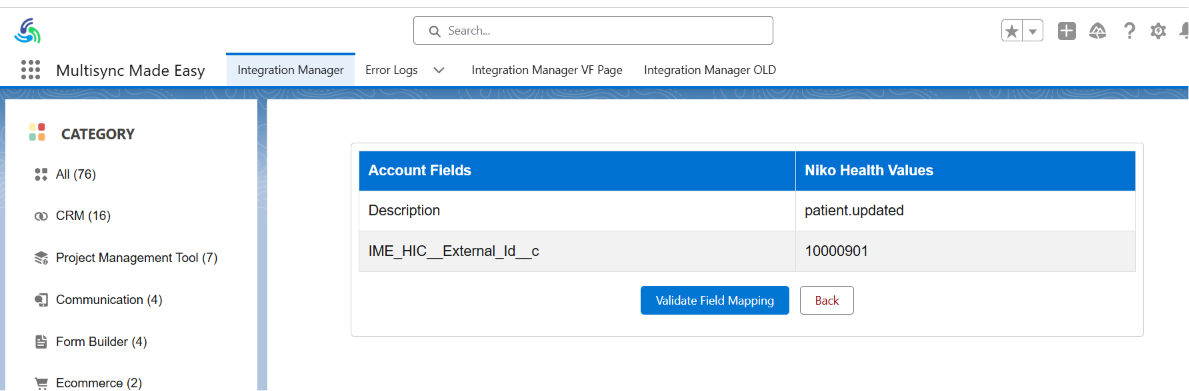
Step 7: Configure Field Mapping
- After object mapping, configure field-level mappings.
Example:
| External Field | Salesforce Field |
|---|---|
| Name | Name.FullName |
| MSME External Id | Id |
| Account Phone | Phones |
| Billing State/Province | Address.FullAddress |
- Field mappings can be adjusted at any time through the configuration interface.
Step 8: Enable Synchronization Settings
- Choose how records should be synchronized.
Common options include:
- Create Only
- Update Only
- Create and Update
- Scheduled Synchronization
- Real-Time Synchronization
- Administrators can configure synchronization behavior based on business requirements.
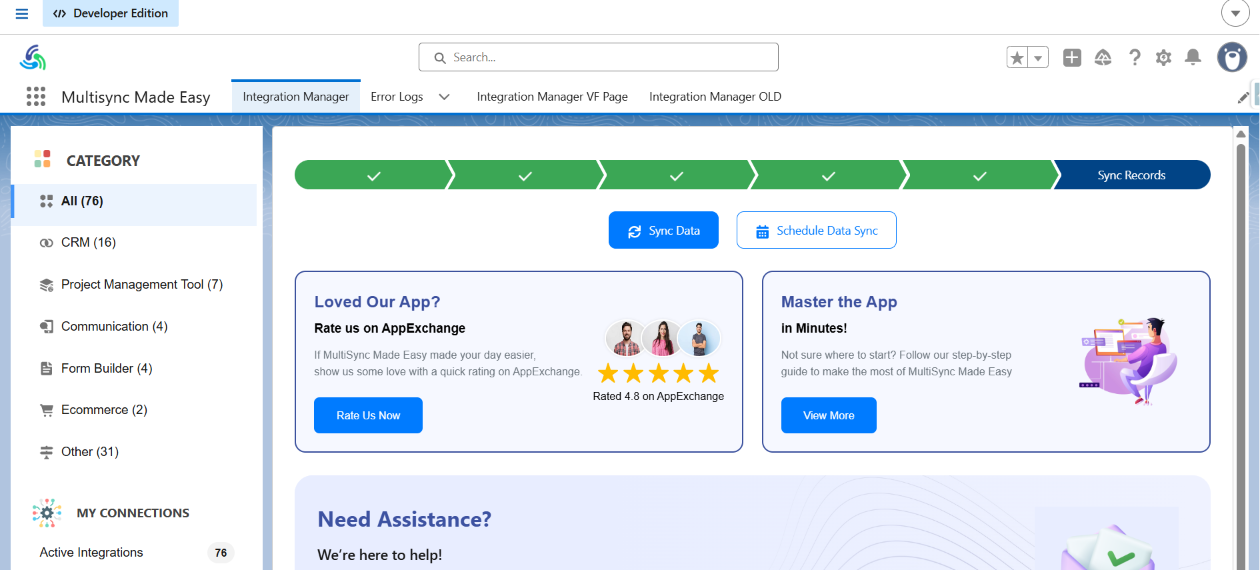
Step 9: Start Data Synchronization
- Once the configuration is complete, MultiSync Made Easy begins processing records.
- The platform retrieves records from the connected healthcare application and synchronizes them into Salesforce.
Examples:
- Patients
- Orders
- Prescriptions
- Authorizations
- Invoices
- Payments
- Documents
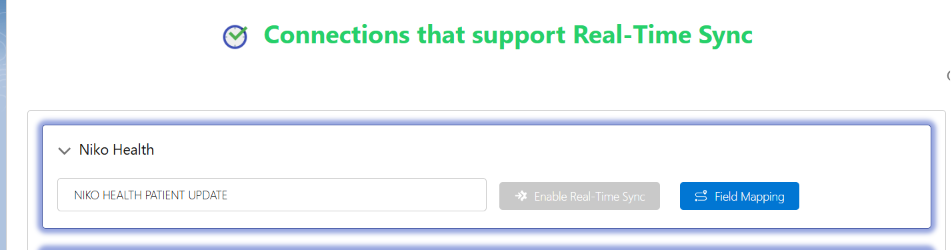
Step 10: Enable Real-Time Synchronization
- After object mapping and field mapping are completed, administrators can enable Real-Time Synchronization.
This feature allows Salesforce to automatically synchronize records whenever data changes occur in the external application.
Instead of waiting for a scheduled batch job, records are synchronized immediately after creation or update.
Benefits:
- Near real-time data availability
- Reduced manual intervention
- Faster business processes
- Improved data consistency
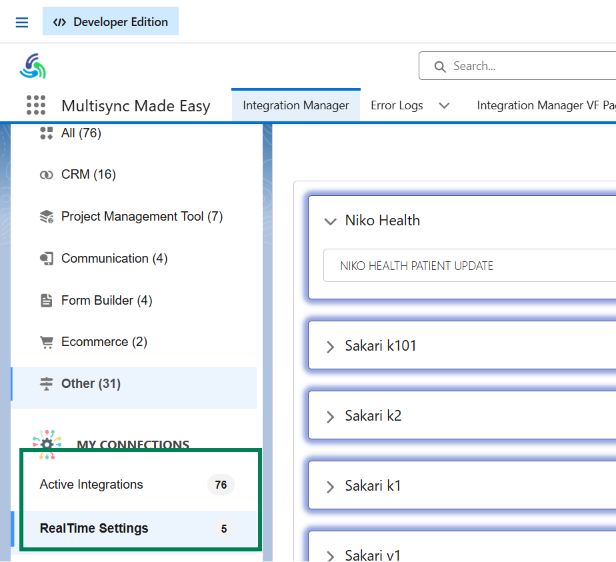
Step 11: Activate the Integration
- Once all configurations are complete, click Enable Real-Time Sync.
- After activation, MultiSync Made Easy begins monitoring and processing records based on the selected synchronization settings.
Step 12: Test Real-Time Synchronization
To verify the configuration:
- Create or update a Patient record in NikoHealth.
- Wait a few seconds.
- Open Salesforce and verify that the record is synchronized automatically.
Similarly:
- Update a mapped Salesforce record.
- Verify that the corresponding record is updated in NikoHealth.
This confirms that real-time synchronization is working correctly.
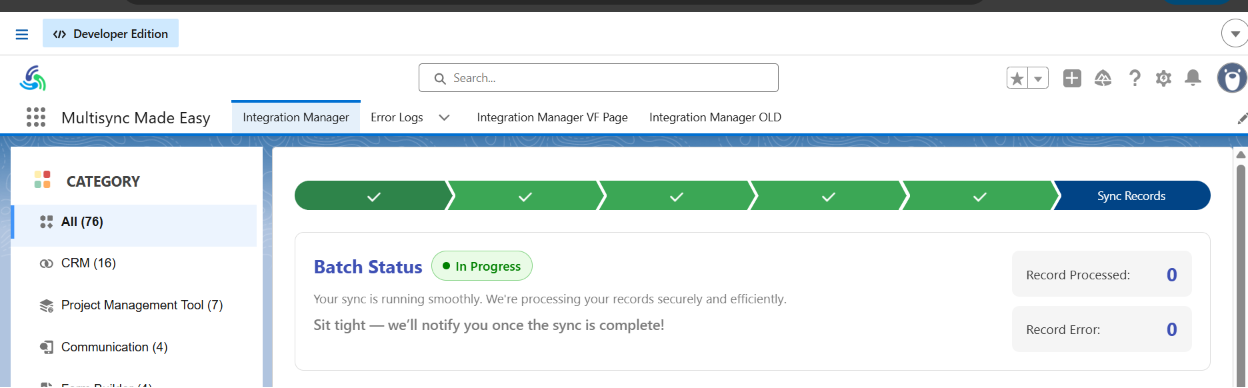
Step 13: Batch Processing of Large Data Volumes
For organizations with thousands of records, MultiSync Made Easy automatically uses batch processing.
This enables efficient synchronization of:
- Large patient populations
- Historical invoices
- Authorizations
- Orders
- Insurance records
- Payment records
Records are processed in batches to ensure scalability and Salesforce governor limit compliance.
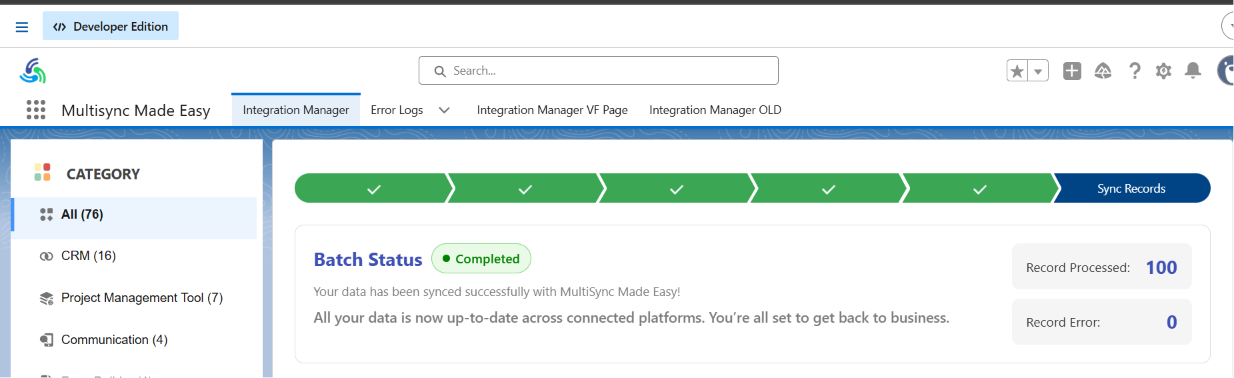
Step 14: Monitor Synchronization Results
Administrators can monitor:
- Successful Records
- Failed Records
- Pending Records
- Processing Logs
- API Responses
This visibility helps quickly identify and resolve integration issues.
Result
After implementing MultiSync Made Easy:
- Salesforce is connected to healthcare applications through a no-code setup.
- OAuth authentication is configured through the UI.
- Object mappings are configured without development.
- Field mappings are configurable by administrators.
- Large volumes of records are processed automatically.
- Patients, Orders, Invoices, Authorizations, Prescriptions, Payments, and Documents remain synchronized.
- Integration maintenance effort is significantly reduced.
Conclusion
Managing healthcare data across multiple systems does not have to be complicated. Instead of relying on manual updates and custom development, organizations can implement seamless integration solutions to keep records synchronized across Salesforce and healthcare platforms, including NikoHealth, Brightree, Noble*Direct, WellSky CareTend, TIMS, CareVoyant, DME Works, Bonafide Medical Group, Universal Software Solutions, and PracticeSuite.
From authentication and field mapping to real-time and batch processing, a well-designed integration framework provides everything needed for successful Salesforce connectivity.
Whether you’re implementing NikoHealth to Salesforce for the first time or expanding an existing Healthcare CRM Integration strategy, HIC Global Solutions helps healthcare organizations streamline data exchange, improve operational efficiency, and maintain accurate, accessible information across their technology ecosystem.
Watch Demo Video
No Data Found.

 India
India  USA
USA UK
UK Canada